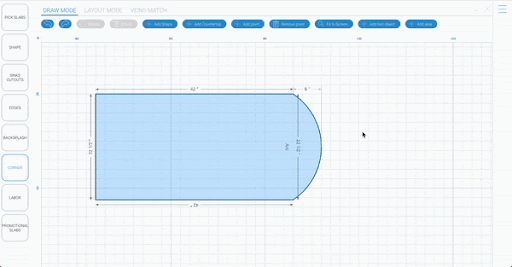
Adding Arc
So now that we have managed to add corners to our shape let’s talk about how you can add an arc. Doing this is very simple, just click the corner option to the left of the grid and choose arc. Once you have chosen the arc just add it to whatever edge on the shape you want to arc. It’s as easy as that!
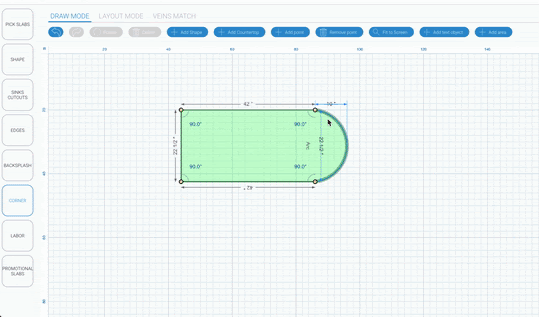
Arc Settings
If you like the arc simply keep it as is and move on. If for some reason you don’t like the shape or height of the arc you can adjust that in just a couple steps.
The first step is to right click on the arc. Once you have done that a tool will pop up with two options. One of the options is “ Set Height. Click set height and another box will open that asks you to enter a new height. After you select the height you want click apply and your arc will update.
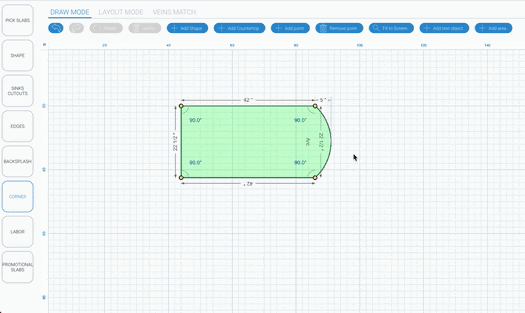
Inverting Arc
I mentioned in the previous step two options would be available when you right click on the arc. The second option is for inverting the arc. If you want the arc to be inverted just follow the same step as above. Right click on the arc and choose “Arc Invert”. After you choose that your arc will automatically invert.
Making a Curved Shape
Another option for customizing your arc is to make it a multi curved arc. To do this all you have to do is add a point by pressing the “Add Point” option at the top of your screen. Once you choose this option you need to place the point where you want the arc to have the additional curve. Then right click one side of the arc and choose “invert arc”.

Erasing Arc
If after doing that you still do not like the arc and want to start again you can always delete it by going to your panel and clicking the X next to Arc.