To add a custom slab you follow similar steps as you did for slab selection. Instead of Material Pricebook however you will choose “Custom Slabs”.
Adding a Custom Slab
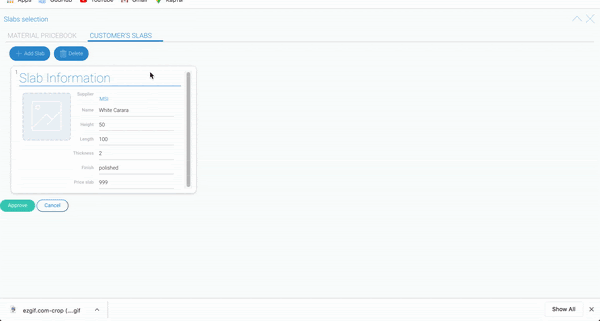
If this is your first custom slab you won’t see anything there besides a blue button that says “add slab”. Just click that and it will open a new field that you need to fill out entirely. Once you have entered all the information into all the fields, hit apply. After you click apply your slab will be there.
Uploading slab photo
If you have a picture of the slad you can add it now. All you have to do is click the empty photo field and choose upload photo. This will open your files on your current computer. Search for the proper photo and choose save. This will upload the photo and it will be saved to your profile for the next time.
Selecting custom slab
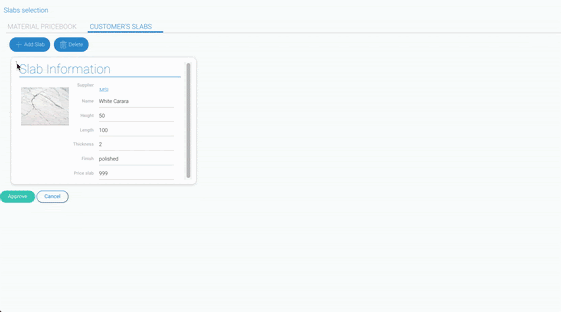
After you have uploaded the photo you can choose this slab by clicking on the number in the top left corner of the field and clicking approve.
Deleting custom slab
Like always, if you want to restart this process or just fully remove the slab, right click it and choose “remove”.